
In Which I Am Nerd Sniped
Some time in late 2024, I overheard a classmate talking about anodizing aluminium, for the purpose of laser-engraving it. They were interested in how it might be done at home. I understood the concept — using electricity to grow a thick oxide layer — and I wondered if it could be done with household chemicals. Of course, I had to try it myself, so I pursued the project on and off for the next few months.
Informaiton
Aluminium is an incredibly reactive metal, but its oxide is inert and durable. The thin layer of oxide that forms on a part’s surface protects it from corrosion, ensuring it doesn’t crumble to dust.
There is a process called anodization which is a way of making the oxide layer much thicker, making aluminium parts more wear-resistant. This is achieved by dissolving away little pores in the existing layer, leaving most of the original oxide in place, but exposing new metal underneath to be oxidized. The pores also allow the aluminium to be dyed to create a very durable surface color — much more so than paint.
So there are two things that have to be done: 1) oxidize the aluminium, which is done by attaching it to the anode of a water electrolytic cell (where oxygen is generated), and 2) etch away some of the oxide. In order to effectively electrolyze water, you have to add an electrolyte, which makes it more conductive. In industry, sulfuric acid is used as both the electrolyte and the etching chemical; being a strong acid, it dissociates easily (i.e. makes lots of soluble ions, which conduct the electricity), making it an excellent electrolyte, and it is also one of a few chemicals that can react with the highly stable aluminium oxide.
This blog post is about my attempts to anodize aluminium without needing to buy sulfuric acid.
Salt and Baking Soda
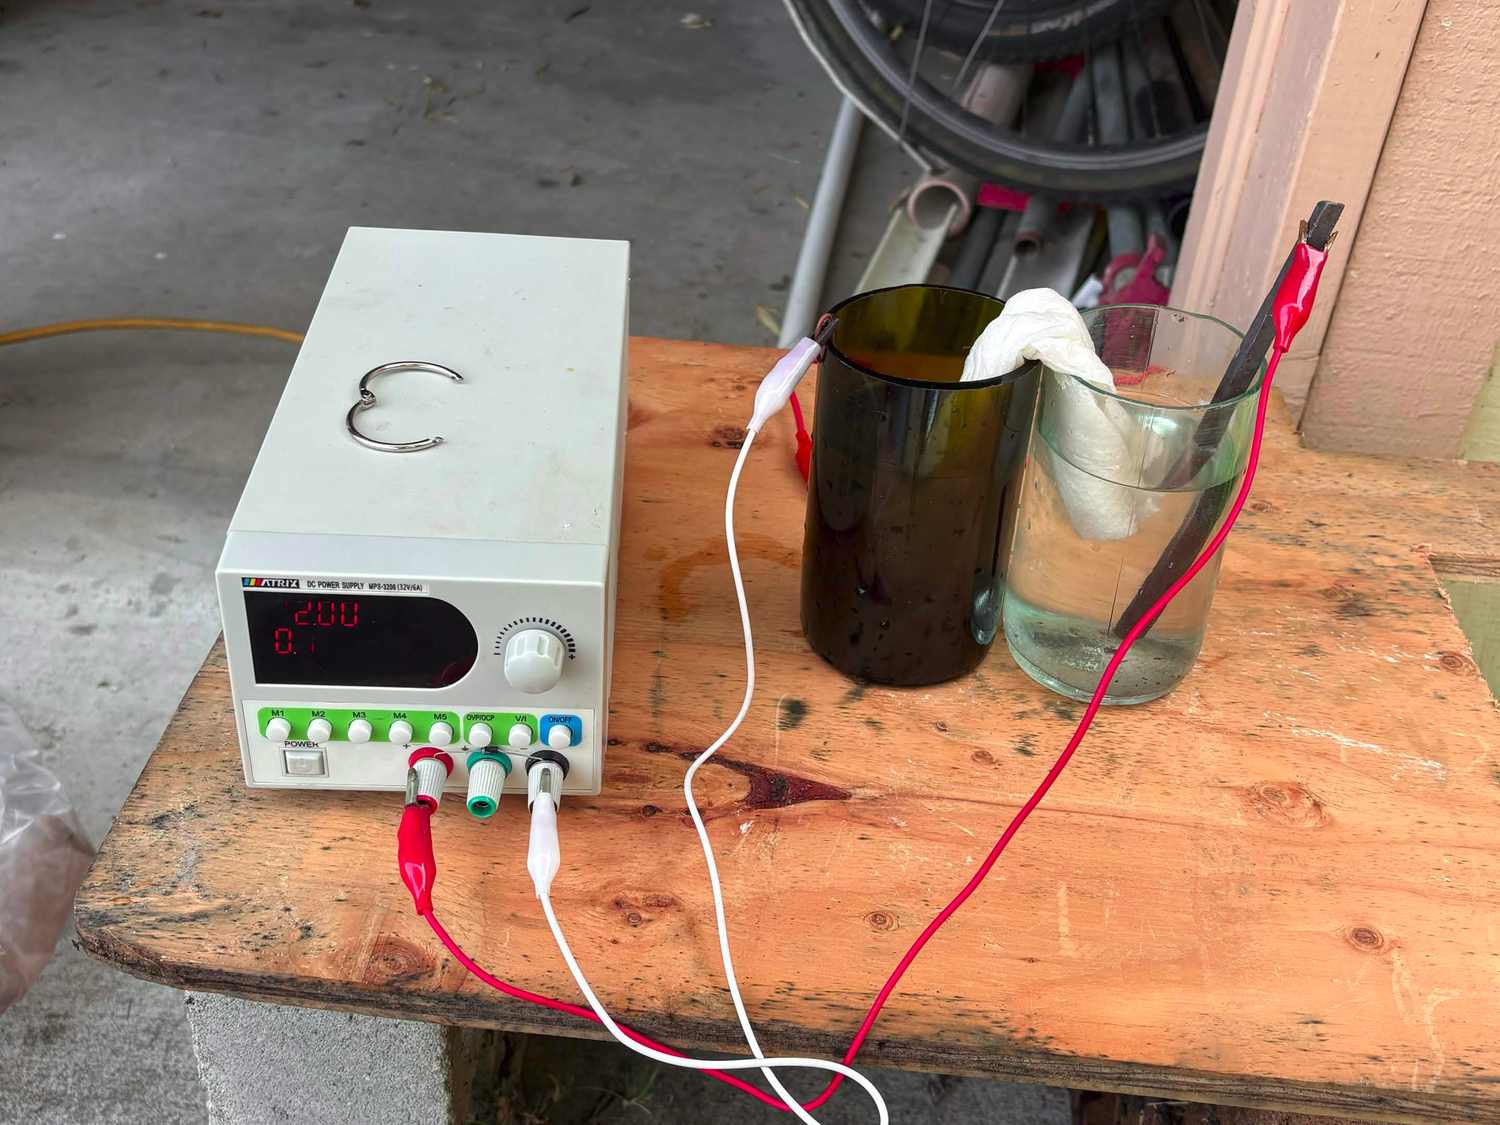
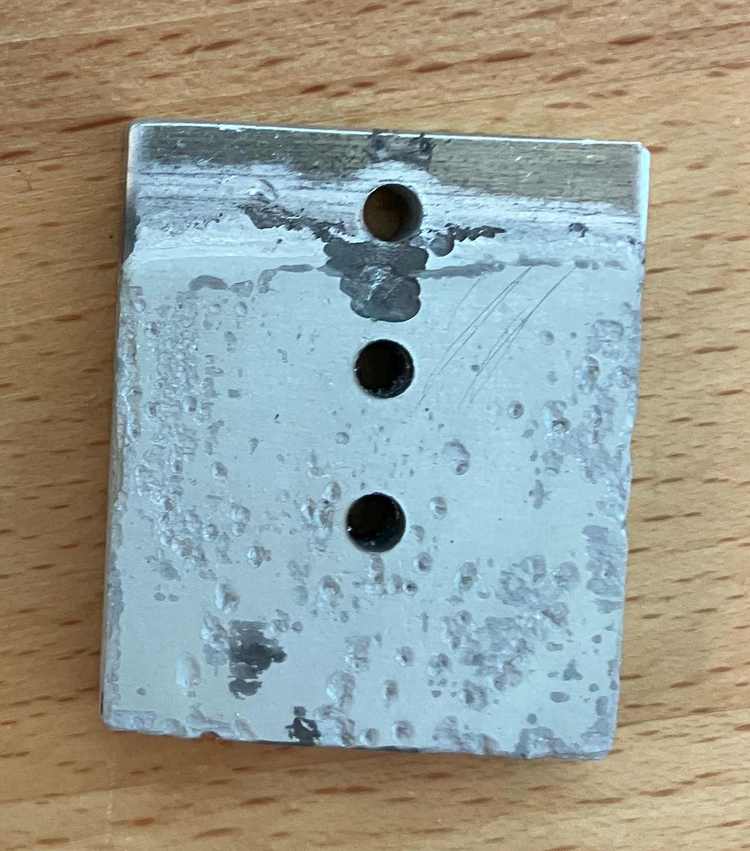
I initially tried running an electrolytic cell with an aluminium anode and salt and baking soda electrolytes. A salt (NaCl) electrolyte rapidly corroded the aluminium to produce a jelly-like aluminium hydroxide precipitate and hydrogen gas. Salt and vinegar combined had a similar effect, except that no aluminium hydroxide was produced. In a baking soda (NaHCO3) electrolyte, current flow started high but quickly dropped to zero. My thought was that a solution of salt and baking soda combined would result in some anodization-esque effect. In practice, the parts I “anodized” grew a thick, very chalky coating of aluminium oxide that could easily be scratched off with a fingernail. Lowering the salt concentration did not remove the chalkiness.
Right: solution after anodization (red = basic)
The Explanation
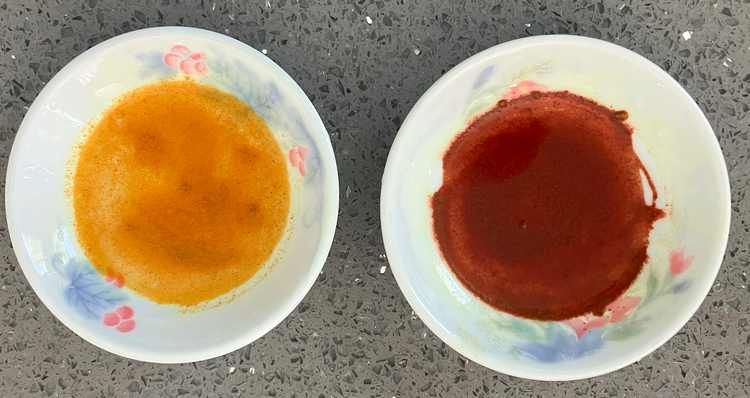
Because of the high chloride concentration in the salt electrolyte, Cl– oxidation to chlorine gas predominated over O2 production at the anode, so no aluminium oxide was produced. Instead, the aluminium metal was free to be oxidized into Al3+ ions, which reacted with the OH– produced at the cathode and precipitated. I’m not exactly sure what happened to the Cl2: it might have reacted with the aluminium to make AlCl3, or with OH– in the water to make hypochlorite (ClO–), or just escaped.
At the cathode, water (H2O) was reduced to H2 gas and OH–. By contrast, in the salt/vinegar solution, H+ was reduced to H2.
With the baking soda electrolyte, oxygen was produced at the anode, causing a solid film of aluminium oxide to grow, until it got so thick that it almost completely blocked current flow. According to the Electrochemistry Encyclopedia, raising the voltage enough would force aluminium ions out of the anode and pull oxide ions (O2-) in, making the oxide layer even thicker.
In the baking soda/salt electrolyte, chloride concentration is not high enough for much chlorine to be produced at the anode. However, chloride ions from the salt disrupt the ability of aluminium oxide to “stick” to the underlying metal (maybe a bit like mercury does), so the oxide layer is constantly stripped away, forming the chalky coating, and revealing fresh metal to be oxidized
Epsom Salt
Making Sulfuric Acid from Epsom Salt
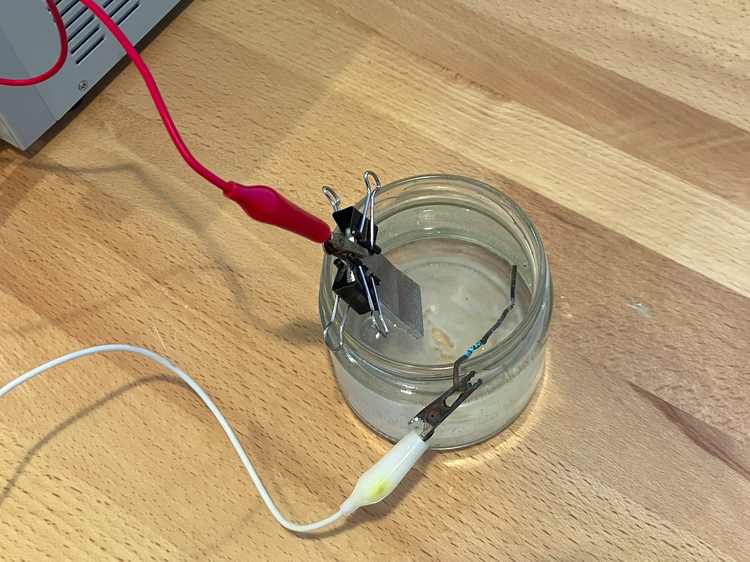
It is not too difficult to manufacture sulfuric acid from Epsom salt (magnesium sulfate heptahydrate, MgSO4 · 7H2O). You use a partitioned electrochemical cell; I used two jars connected by a wet kitchen towel as a “salt bridge”. (See the featured image.) At the anode, water is oxidized to make hydrogen ions and oxygen gas; while at the cathode, water is reduced to make OH– (which precipitates with the Mg2+ to form Mg(OH)2) and H2 gas. The charge imbalance pulls anions (SO42- and OH–) from the cathode side to the anode side, and cations (H+ and Mg2+) from the anode side to the cathode side. The paper towel provides a path for these ions to flow while avoiding direct mixing. However, its resistance is very high, so the process is very slow and inefficient. (In fact, you can feel the paper towel getting warm as ionic current flows through it.)
A challenge in this case is finding an anode material which resists oxidation. Probably the safest and most convenient option is graphite obtained from pencil “lead”, though it will still degrade slowly. If the wax (added to make a smoother writing experience) is burned off by gentle heating, it will slowly swell and crack, eventually breaking off; If the wax is not burned off, the lead will slowly flake away. I imagine this is due to the acid reacting with the clay in the lead, not the graphite, which is generally unreactive. A more durable anode is lead, though small flakes still came off of it, due to the brittle lead dioxide formed on the surface flaking away from the softer metal.
When 31 V were applied between the anode and cathode, a very small current flowed initially, which increased slowly as more sulfuric acid was produced. After many hours, the current finally decreased to nearly zero.
Explanation
The initial increase is likely attributable to the increase in H+ concentration at the anode, which drastically improves its conductivity. (According to the CRC handbook, H+ has a conductivity of 350×10-4 m2S/mol, whereas SO42- is 160×10-4 m2S/mol, and HSO4– is 52×10-4 m2S/mol.) The current drop at the end is probably due to the decrease in ion concentration at the cathode, since all SO42- is transported away and all Mg2+ gets precipitated.
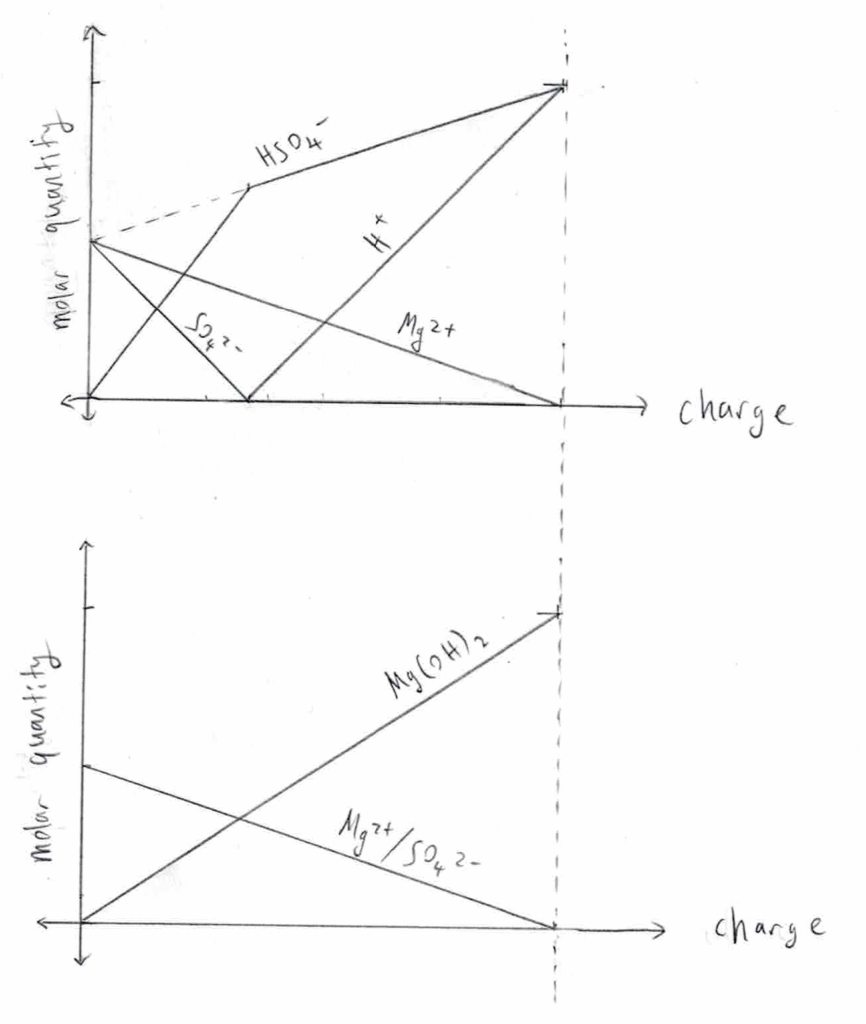
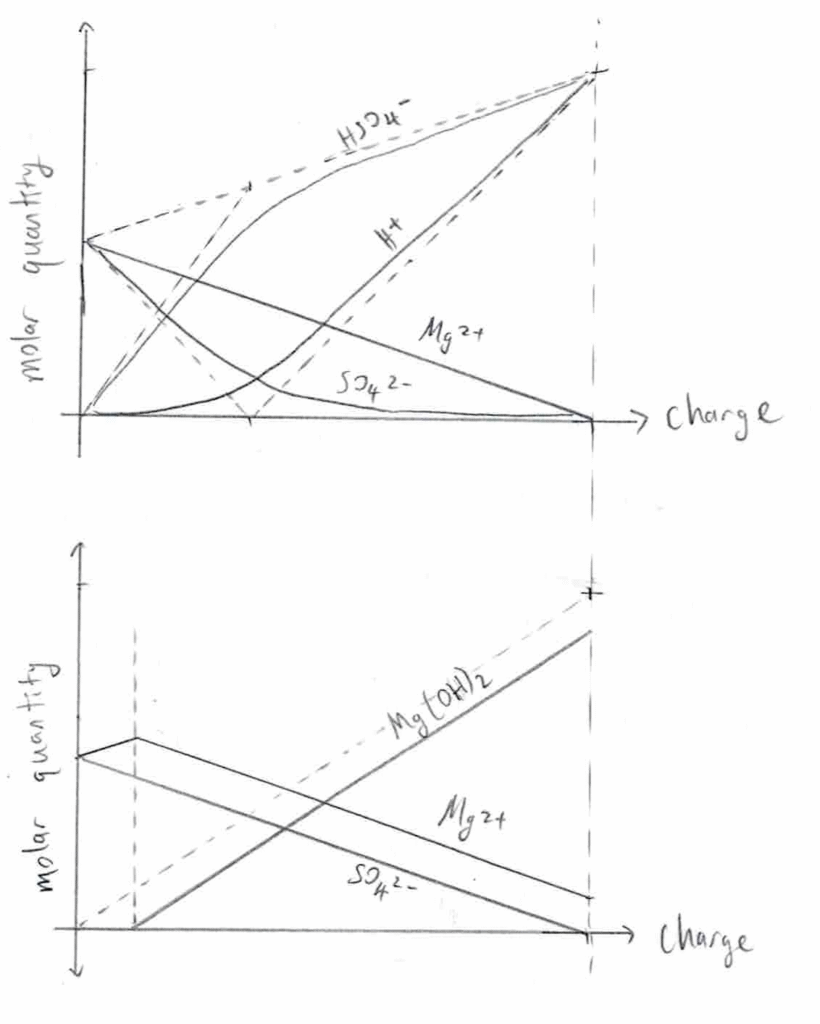
My guess for how the ion concentrations change over time is depicted in the following graphs. The one on the left assumes infinitely-small dissociation constants for MgOH2 and HSO4–, whereas the one on the right does not. Both graphs neglect the movement of H+ and OH– through the salt bridge.
top = anode; bottom = cathode
Two ways I can think of to increase current flow are to increase the electrode area, or to increase the area/decrease the length of the salt bridge. I could use a sheet of lead instead of a stick, and have two sides separated by a membrane of paper (or something else) rather than a thin “bridge”.
Using the Sulfuric Acid for Anodization
ANYHOW, I used the resulting acid to try to anodize a bit of scrap 6061 aluminium. It worked pretty well! The coating was not as porous as what you normally see (probably due to the low concentration of acid), but the oxide layer definitely thickened in a visible way. Dragging a sharp steel tweezer tip across the un-anodized and anodized portion of the sample, it clearly scratched a line in the un-anodized part but not the anodized part.
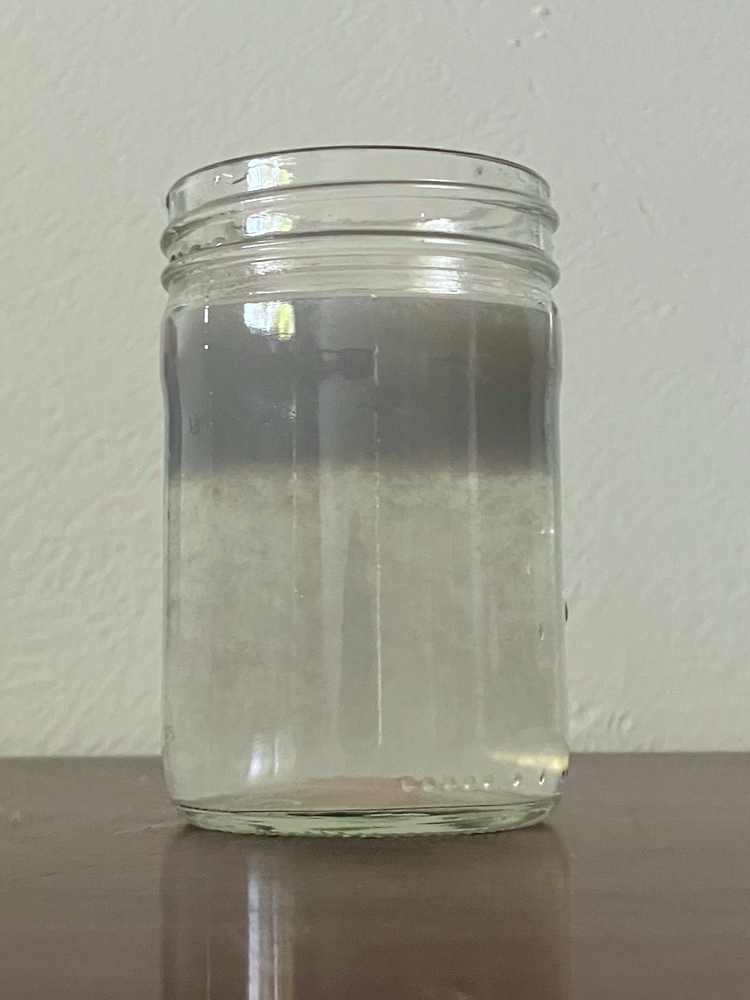
I also tried an unpartitioned electrolytic cell with an aluminium anode and Epsom salt electrolyte. This made the anode corrode away, particularly in areas where bubbles accumulated; at the cathode, magnesium hydroxide was produced.

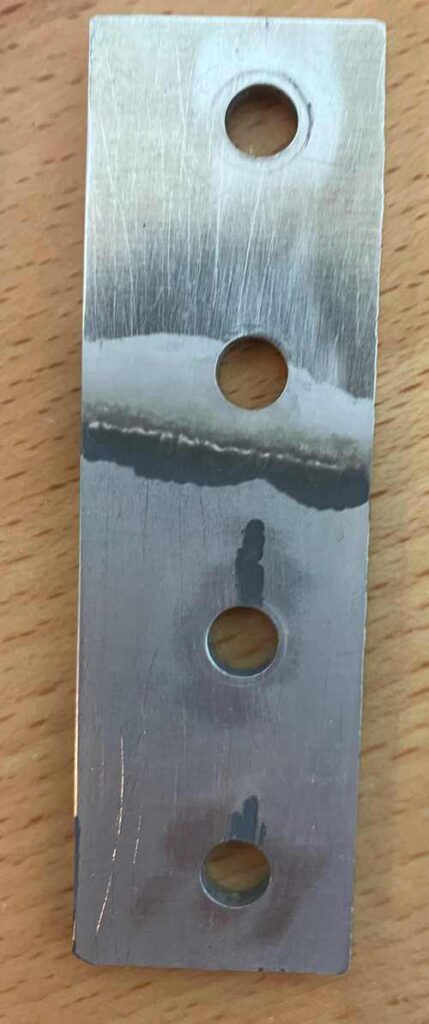
Testing “Anodized” Coatings
Parts coming out of the salt and Epsom salt solutions had their surfaces dissolved (“etched”) away, making a surface finish very similar to anodized parts. The way I found to test between them was to scratch parts with any hard, sharp steel object — I used the tip of some tweezers. With unanodized surfaces it obviously “dug” into the surface with a noticeable dragging, whereas it easily skated off anodized ones.