
WARNING: This is quite a dangerous project if you don’t know what you’re doing. Take proper precautions if you decide to try this: never leave the stove unattended, plug it into a GFCI outlet, use proper wire connections, and use a cord of the proper gauge. Above all, USE COMMON SENSE; IF A SITUATION LOOKS DANGEROUS, IT IS.
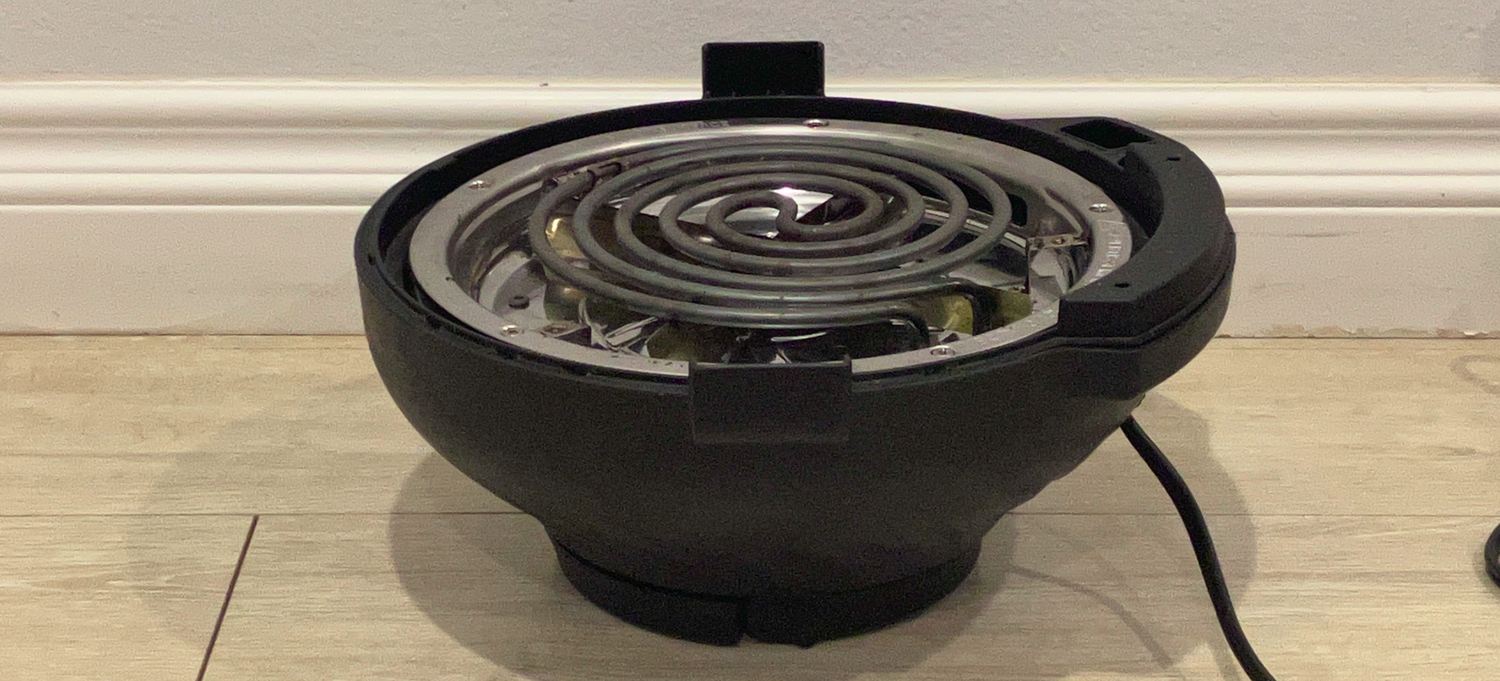
Having come upon an Instant Pot® Duo Crisp™ Air Fryer lid, I decided to take it apart and convert it to an electric stove.
Disassembly
Disassembly was pretty easy, with the exception of the first two non-obvious steps:
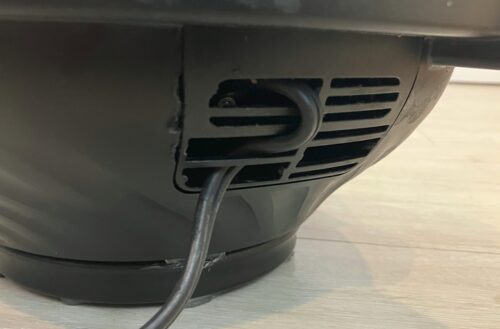
- Take off the intake cover (the top piece near the handle) and undo the two screws in the deep recesses.
- Next, pry off the exterior plastic covering from the lid to expose the electronics.
I then took the whole thing apart, salvaged some useful components (the shaded-pole motor is pretty nice), and washed the dirty parts.
Construction
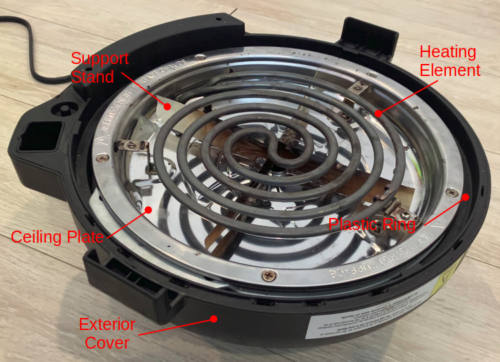
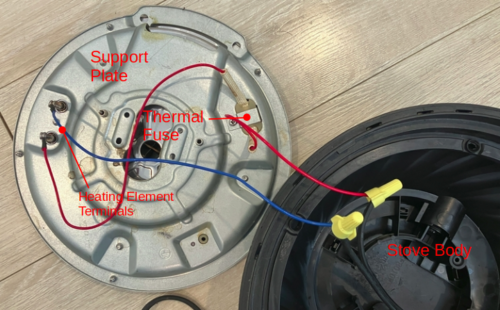
The lid was originally constructed with a plastic ring for attaching the exterior cover sandwiched between the stainless steel “ceiling plate” (the reflective plate that forms the ceiling of the air fryer) and a thicker aluminized (I think) plate for supporting the rest of the components. My stove is constructed by flipping the lid over, removing the heating element cover and all electronics other than the heating element. The ceiling plate turns into a drip pan without any modification, catching spills and reflecting radiated heat back to the pot. I opted to screw the ceiling plate and support plate directly together, resting them loosely on the stove body (formed by the exterior cover and plastic ring) for easy disassembly and troubleshooting.
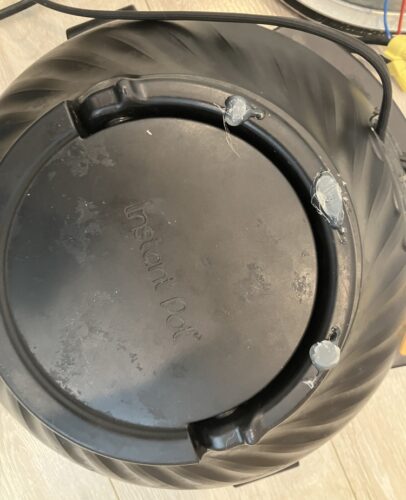
The intake and handle at the bottom of the body already provided a good supporting surface, and I only had to use a few dots of hot glue to prop up the handle and prevent the whole thing from rocking.
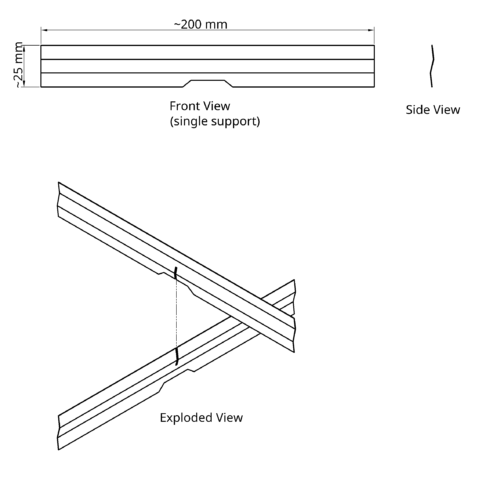
The 1500 W heating element needs to be supported under the weight of a pot. I cut two strips of sheet metal (from a mooncake tin) roughly 200 mm long and 30 mm wide, adding two shallow bends to stiffen them against twisting. Two cutouts were made at the center to clear the raised edge of a hole in the ceiling plate. The strips were then test-fitted and trimmed to their final width, before being notched at the center and combined into an “X”-shaped support.
I removed the fan originally placed inside the housing, presumably to cool the electronics, though there weren’t any very temperature-sensitive components. I’m not sure if this’ll cause the stove to overheat; the heating element is thermally isolated from the stove body, and since the heating element is now above the body rather than below it, convection carries heated air away from the body rather than into it.
To install and strain-relieve the 16 AWG cord, I wove it between the vent-holes; it seems to work fairly well.
Conclusion
I used the stove to boil about a half-liter of water with success, and will later try to use it to melt zinc. It drew around 1350 W.
UPDATE: 2024-09-28 It successfully melted zinc. Read about it here.
2 responses to “Coil Stove from Air Fryer”
[…] time, I used a 1500 W coil stove to melt the zinc. It worked fine, despite being a bit slower than the backpacking […]
[…] up until now has been zinc, because it is cheap and melts easily on a stove. I even built myself an electric stove out of an old air-fryer lid for melting zinc. So far, this has worked pretty well; the stove melts […]