
Introduction
I’m trying to get better at casting, and this involves building a proper furnace to melt metals like aluminium and copper instead of just ones that can melt on a stovetop, like zinc. This mainly involves two things: the furnace’s body, and a burner.
There are a few different types of burners that are used by hobbyists, and the most common are solid fuel, propane, and oil. Solid fuel furnaces are very easy to make, but don’t get very hot and are expensive to run. Propane burners are a bit harder to make, less expensive to run, and get hotter than solid fuel. And oil burners are hardest to make (especially if you want one that works without preheating), but cheap to run (waste oil is practically free) and get hot enough to melt cast iron.
I tried at first to make an oil burner, but after multiple failures thought it would be better to start with a propane burner and move to an oil one if the need should arise.
There are a lot of different propane burner designs out there, but most follow the same design principle: propane is forced through an orifice at high pressure (~70 – 140 kPa, 10 – 20 PSI) into a burner tube, air is mixed in the propane jet, and air-fuel mixture is burned at the tip of the burner tube. If a high-pressure regulator is not available, a forced-air burner is usually made. Additionally, because burner designs are so varied and most are poorly/not-at-all designed, even high-pressure burners can suffer from insufficient air entrainment. This is shown by the column of flame that ascends from many furnaces, indicating the fuel did not fully combust in the furnace.
Attempt 1
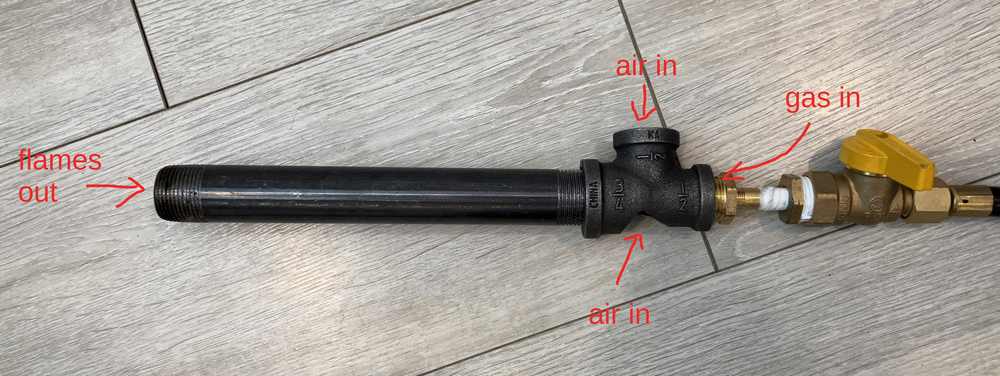
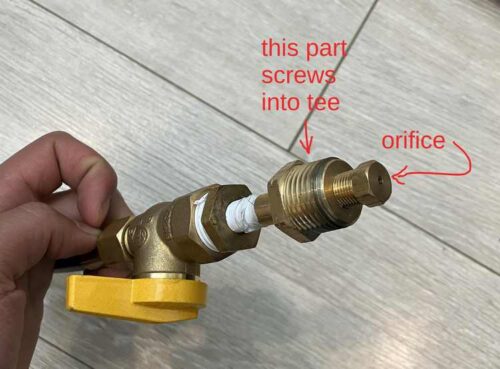
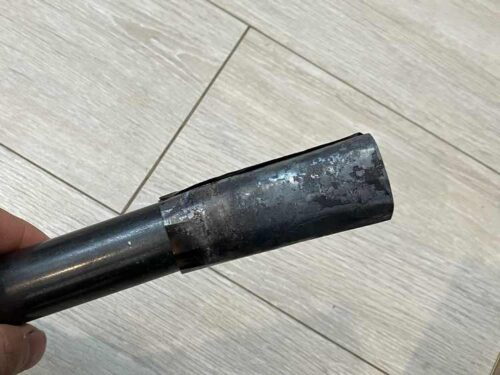
My first attempt at making a burner, I made what is called a “sidearm”-type burner, constructed out of a tee fitting with a 3/4″ burner tube (20 mm ID) on one side, a gas orifice on the other side, and air entering through the branch. The gas orifice was mounted by screwing a reducing bushing into the tee, tapping the back side to accept a NPT plug with a 3/64″ (1.2 mm) orifice drilled in it. The whole thing required no soldering and was easy to disassemble. I used a low-pressure propane regulator made for grills. Unfortunately, from the first time I tried it, it was clear not enough air was being entrained since the flame was very “lazy” and had “yellow tips”. Cutting another hole in the tee did not let more air in.
Attempt 2
After this initial failure, I thought it might be good to read up on how exactly burners are designed. One of the first results from my Google search was this very helpful book, which explained the important factors in entraining sufficient air into the gas and mixing it thoroughly before discharging it through burner ports and burning it. I wish I could say I followed those instructions to design a perfect burner, but since I do not have the resources to construct such a design, I decided instead to make a forced-air burner.
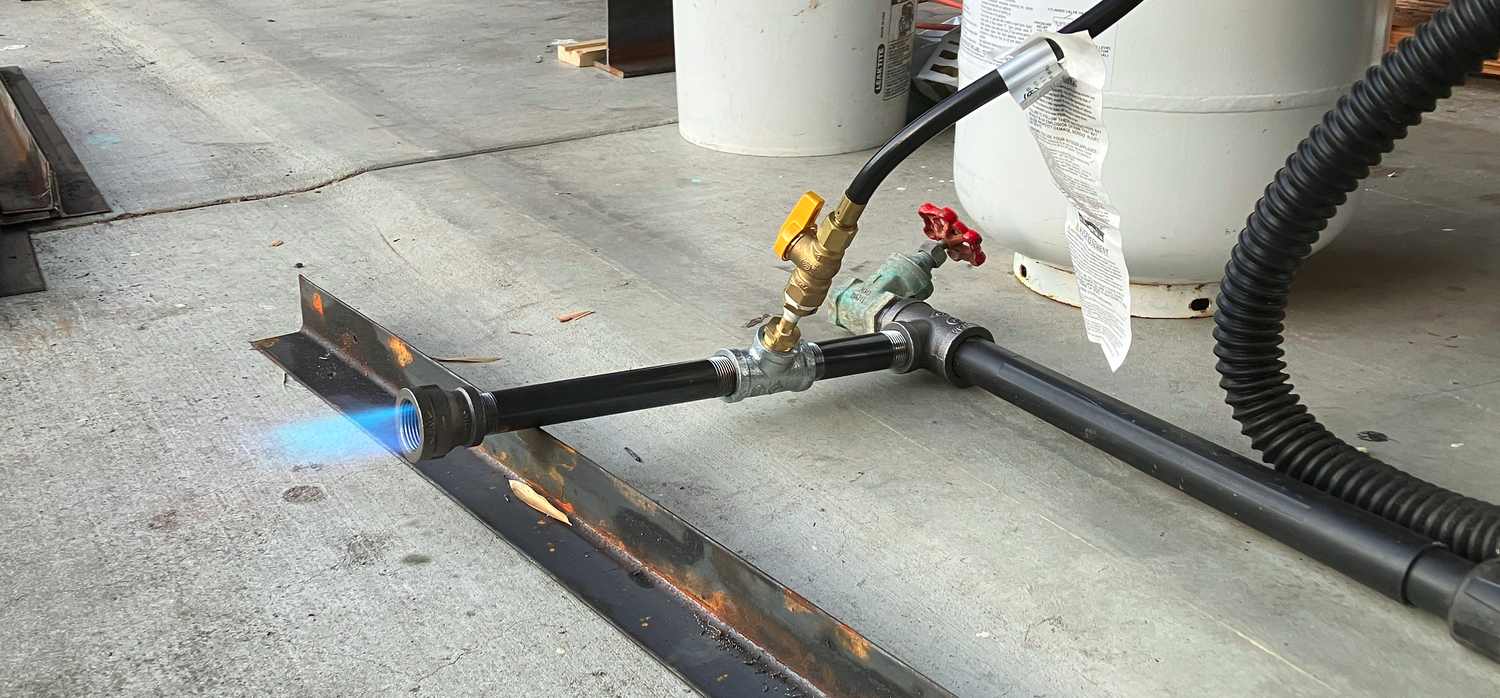
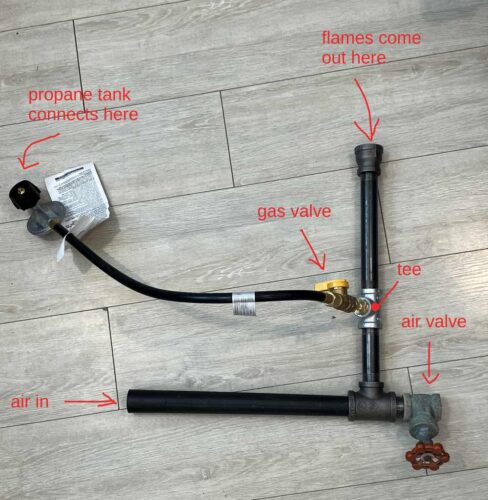
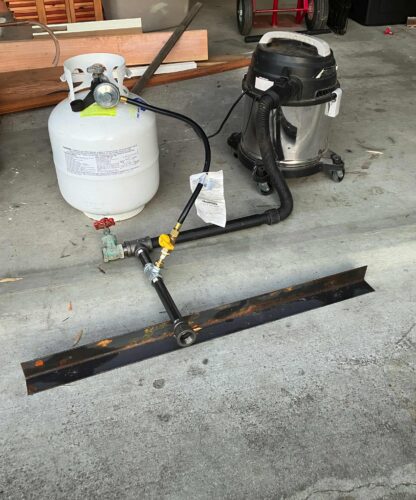
The forced-air burner is comparatively easy to make since it requires only a source of gas, a source of air, and a way to regulate both. For an air source I used a shop-vac, which according to online specifications can blow 85 CFM (2400 L/minute), which can theoretically aspirate a burner of 130 kW (440 000 BTU/hr). To regulate airflow through the burner while keeping consistent airflow through the vacuum to prevent overheating, I used a gate valve to vent the blower’s output to the environment — closing it increases airflow through the burner. For gas, I used basically the same setup as before, except that air passed straight through the tee and gas entered at the branch. I also enlarged the orifice to 3/32″ (2.4 mm) to give a maximum input of about 18 kW (60 000 BTU/hr).
When operating the burner without a flare, the flame always “lifted” from the burner tip or blew itself out unless run very rich, at low input. Adding a sheet metal flare fixed this, as did screwing a reducing coupling (with the big side facing out) onto the end of the burner pipe.
What Does the Flare Do?
Calculating the flow velocity through the pipe showed it was far in excess of the flame speed of propane, even at the end of the flare. I suspect what the flare does is introduce some turbulence in the flow:
As an example of the effect of removing irregularities of flow it may be mentioned that no mixture of propane and air could be found which would back-fire through a long tube 0.255 inch in diameter, even when the velocity of the mixture was reduced to zero, but back-firing occurs with propane, under certain conditions, through ports made in an ordinary burner casting by a No. 32 drill which has a diameter of 0.116 inch. […]
The extraordinarily large effect of slight turbulence on back-firing may be understood if the phenomenon is observed in a glass tube about a centimeter in diameter. Contrary to the assumption frequently made, back-firing usually takes place when the average velocity of the mixture through the port is considerably greater than the velocity of propagation of flame through the mixture. The flame always starts down one side of the port; the rapid expansion of the gas in the flame then creates a local pressure which deflects the gas stream largely to the other side of the tube and reduces the velocity on the side along which the flame front is leading. Any irregularity in flow which will give the flame an opportunity to start into one side of the port therefore results in its travel through the port.
Design of Gas Burners for Domestic Use, pp. 20 – 21
Perhaps this is the explanation. Incidentally, I’m pretty sure the flare does not provide a region in which combustion can occur without the flame being blown out by the wind or quenched by the walls of the tube conducting heat away, since the fairly thick coupling works as a flare also, and adding a straight-sided sheet metal extension to the burner tube did not fix the lifting problem.
The Flame at Different Air-Fuel Ratios
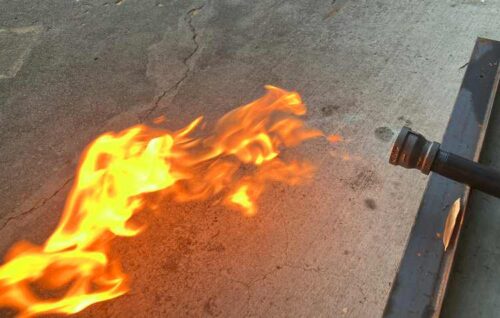
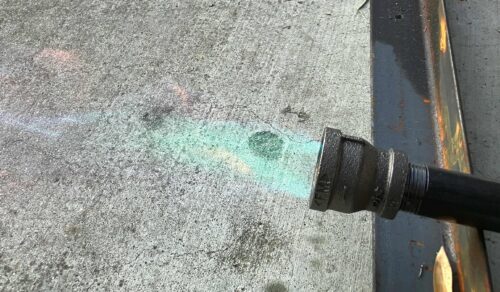
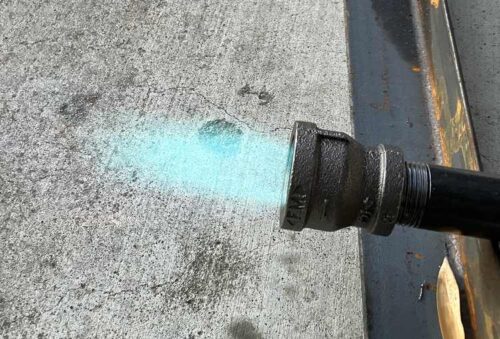
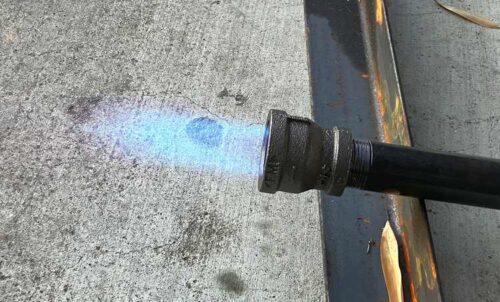
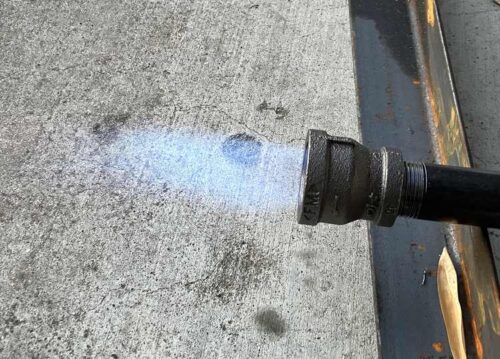
← richer (more fuel)
leaner (more air) →
To connect this with another blog post of mine: by setting the burner to an oxidizing flame, I was able to produce an oxidized coloring on a piece of backyard clay, contrasting with the reduced coloring when heated with the reducing flame of a blowtorch.
2 responses to “Propane Burner for Foundry Furnace”
[…] a burner of about 100 000–200 000 BTU/hr per cubic feet (1–2 kW per liter) of cavity, so my propane burner of 18 kW should be plenty […]
[…] between a file, and a piece of structural steel. To heat-treat it, I heated the tip red-hot with a propane burner, then quenched it in water. When I ran a file over the tip, it skated off, indicated that it was […]