
Summary
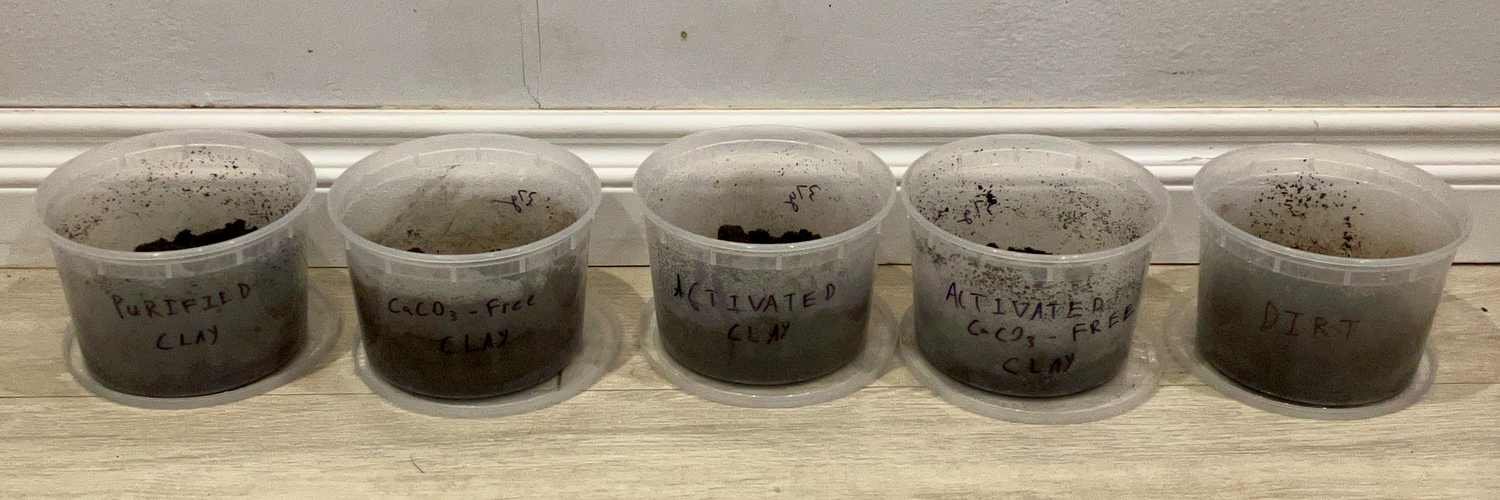
- I treated backyard clay by:
- purifying it to remove sand and silt,
- dissolving its calcium carbonate content in vinegar, and
- activating it with sodium carbonate.
- The treated and untreated clays were combined with sand to make greensands, and then their mechanical properties were tested.
- I found that removing calcium carbonate had little effect on on greensand properties, but that soda activation caused a significant improvement in both tensile strength and shatter index.
Introduction
In my ongoing attempts to improve my DIY greensand, particularly its strength and plasticity, I’ve been trying to find a better clay to bond the sand grains together.
A very helpful resource I’ve found in explaining the factors which affect greensand properties is W. Davies’ Foundry Sand Control (1950). After reading it, I identified three treatments I could try:
- Refining the dirt I was using as a binder, to remove sand and silt
- Removing calcium carbonate from the clay by dissolving it in acid
- Soda-activating the clay to convert it from calcium montmorillonite into sodium montmorillonite
Treating the Clay
Purifying
In my original greensand, I used ground-up dirt as the bonding clay. However, I’ve since realized that while highly sticky and plastic, my backyard’s dirt actually has a significant sand and silt content, which is shown clearly in a sedimentation test. Purifying the clay should improve strength and plasticity.
“the presence of finely divided quartz [silt] lowers the green strength and reduces the plasticity without improving the plastic range. […] Quartz acts as a diluent without any apparent advantage [to the clay].”
Foundry Sand Control
For these tests, I used clay that I’d previously purified by levigation.
Calcium Carbonate Removal
My area’s soil also has a considerable calcium carbonate content, which is retained in the purified clay, and I wanted to see if removing it could improve greensand’s strength:
“The presence of calcite [calcium carbonate] reduces the plasticity of the mixes slightly and reduces both green and dry strength.”
Foundry Sand Control
According to SoilWeb, my backyard’s soil contains around 5% calcium carbonate by weight. When I titrated a slurry of purified clay by adding vinegar and swirling the solution around until no more gas was produced, I calculated a calcium carbonate content of 7%:
CH3COOH(aq) → H+ + CH3COO–
CaCO3(s) + 2 H+ → CO2(g) + H2O + Ca2+
\(\frac{34\text{ mL vinegar}}{20\text{ g clay}} \times \frac{50\text{ g CH}_3\text{COOH}}{1\text{ L vinegar}} \times \frac{1\text{ mol CH}_3\text{COOH}}{60.06\text{g CH}_3\text{COOH}} \times \frac{1\text{ mol CaCO}_3}{2\text{ mol CH}_3\text{COOH}} \times \frac{100.09\text{ g CaCO}_3}{1\text{ mol CaCO}_3} = 0.071\text{ g CaCO}_3/\text{g clay} = 0.71\text{ mol CaCO}_3/\text{kg clay}\)
To avoid wasting so much water when preparing the clay for this project, I used concentrated cleaning vinegar (15% acetic acid by weight) to dissolve the CaCO3. Vinegar was added until all gas production ceased. The reaction was pretty slow, even though I heated the clay in a warm-water bath — gas was still being produced for a minute of more after each addition of vinegar. This might’ve been because the vinegar took a long time to dissociate, and the reaction would have gone faster with a strong acid.
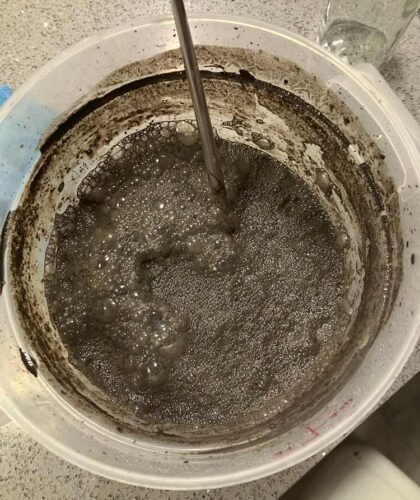
Acid burn, and caldron bubble.
Vinegar and clay from soil
In the caldron bake and boil
After completing the reaction, I rinsed the clay with water to remove the soluble calcium acetate, since it can thermally decompose and release gases that cause spalling. Also, according to Boenisch, dissolved ions severely reduce the greensand’s tensile strength. I rinsed until no taste remained in the rinse-water, using perhaps 15-20 L of water per kg of clay.
Side note:
I originally wanted to use hydrochloric acid to dissolve the calcium carbonate, but was afraid that at high concentration, the low pH might chemically damage the clay. To keep the pH from getting too low, the acid must be diluted to about 0.1 M, which means that \(\frac{0.71\text{ mol CaCO}_3}{1\text{ kg clay}} \times \frac{2\text{ mol HCl}}{1\text{ mol CaCO}_3} \times \frac{1\text{ L HCl}}{0.1\text{ mol HCl}} = 14\text{ L HCl/kg clay}\) is needed.
I figured this was a waste of water, and that if I used a weak acid like vinegar instead, I could use a much higher molarity of it without decreasing pH too much (since the acid doesn’t dissociate completely in water). However, given how much water is needed to rinse the clay, this is a moot point.
Soda Activation
I also tried converting my clay from calcium montmorillonite to sodium montmorillonite to make it more plastic over a wider range of water contents, by “activating” it with sodium carbonate:
“The bonding properties of several fuller’s earths and bentonites are illustrated in Fig. 129. All are extremely plastic over a wide moisture range, this feature being rather more pronounced for the sodium than for the calcium clays. The green strength curves show that calcium clays are more sensitive than sodium clays to changes in moisture content.”
Foundry Sand Control
Although calcium montmorillonite usually gives a higher green strength than sodium montmorillonite in commercial foundry conditions, I thought that, in the absence of mulling, a more plastic clay might cover the sand particles more completely and lead to higher strength.
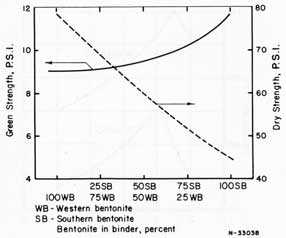
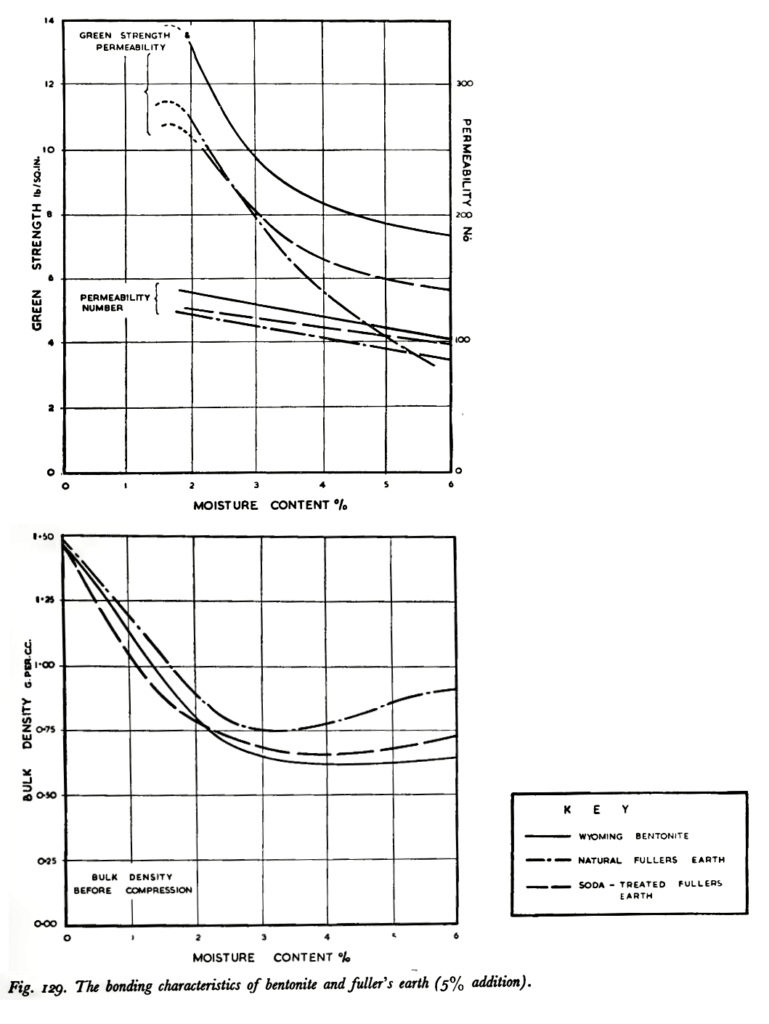
Fuller’s earth = calcium montmorillonite
Most sources say that the ideal ratio of sodium carbonate:clay is about 3%, which is a little under the amount needed to fully replace all calcium with sodium.
However, I wasn’t sure if this applied to my backyard clay, so I set up an experiment to measure the change in swelling capacity effected by increasing amounts of sodium carbonate. This was done by putting 1-gram samples of clay into several test tubes, and adding increasing amounts of sodium carbonate solution into each. After topping up the tubes with with water, and shaking them up, I let the clay settle for 24 hours, and then measured the height of the settled clay above the bottom of the test tube. Based on of this test, I decided to use 2% Na2CO3 to activate the regular (purified) clay, and 3% for the CaCO3-free clay.
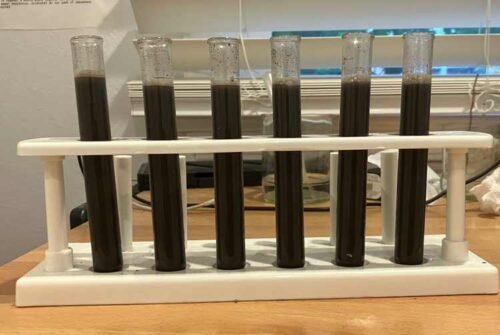
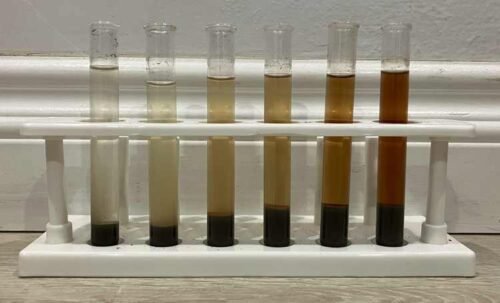

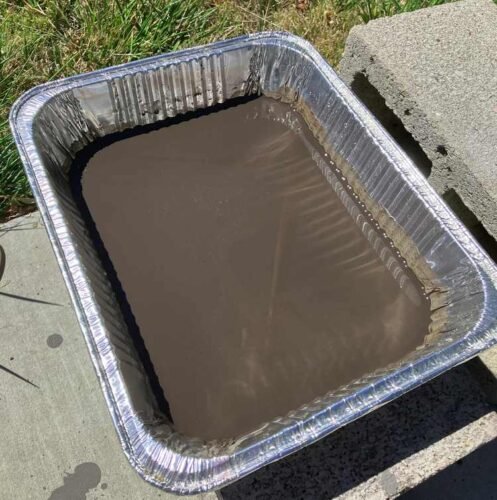
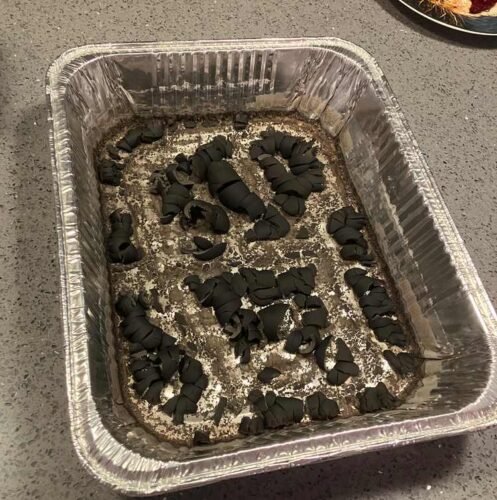
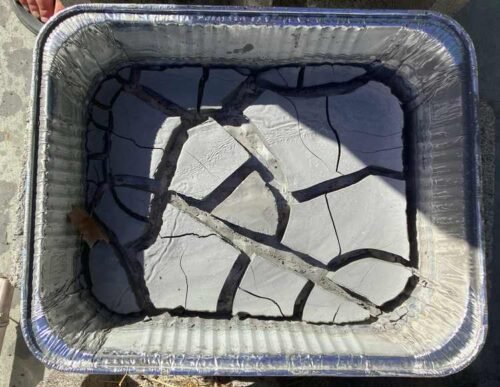
To prepare the soda-activated clay, I weighed out the appropriate amounts of dried clay and anhydrous sodium carbonate, and then added enough water to fully disperse the clay particles into a liquid consistency. After letting the mixture sit overnight, any water on top of the settled clay was poured off, and the mixture was dried in the oven at 120°C. Care was taken not to let the clay get to hot, to avoid chemically dehydrating it.
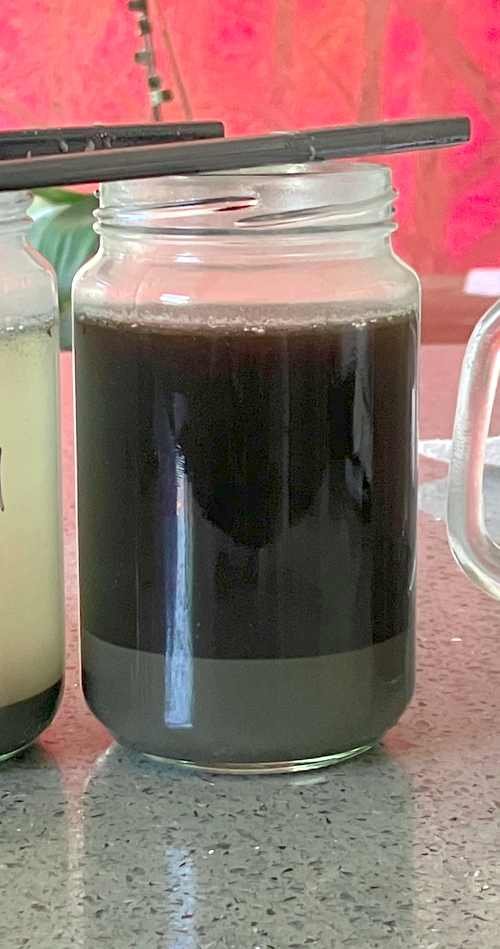
After soda activation, the layer of water above the settled clay turned dark brown — about the color of coffee. According to the USDA Soil Survey Field and Laboratory Methods Manual, “this is a rough indicator for the presence of well-decomposed organic matter”
Shake a sample of soil in 5% sodium carbonate or another alkaline solution, such as ammonia. If a dark-colored extract is obtained, this is a rough indicator for the presence of well-decomposed organic matter and illuviated organic matter like that in spodic horizons.
USDA Soil Survey Field and Laboratory Methods Manual
Testing the Greensand
Using some the methods outlined in this blog post, I tested:
- Purified clay
- Purified clay with CaCO3 removed
- Activated and purified clay
- Activated and purified clay, with CaCO3 removed
- The original dirt-bonded sand that I’d been using
A Spreadsheet of All My Data
is available here:
Preparing the Greensand Samples
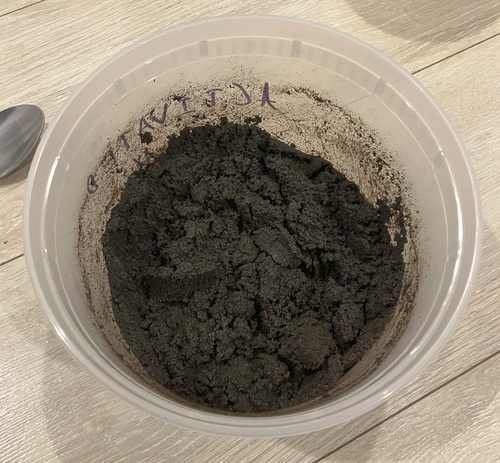
I followed this procedure to prepare greensand with 12% clay content and 4% moisture content:
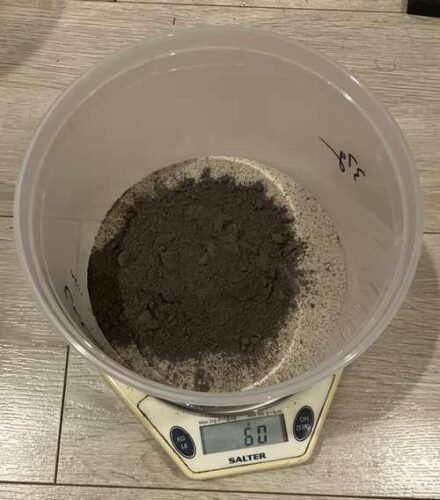
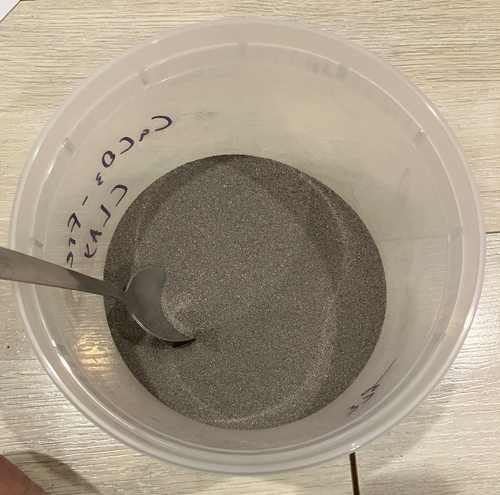
- Combine 440 g of sand with 60 g of dry pulverized clay and mix thoroughly.
- The sand used was Basalite “Industrial Sand“, sifted through a 40-mesh sieve.
- The clay will clump up if it isn’t mixed well enough into the sand.
- Add 75 g of water, and “mull” the sand with a spoon by alternately smearing it onto the container walls, and then scraping it off. (This imitates the action of a muller.)
- A high water content makes mulling easier, allowing the clay to be more completely dispersed onto the surface of the sand particles.
- Dry the sand to less than 4% moisture content (total weight of 521 g) in a microwave.
- It is a good idea to stir the sand a little before allowing it to fully dry. If allowed to dry from the wet state undisturbed, the sand will form hard lumps that are difficult to break down.
- Add water to bring the moisture content up to 4% (521 g).
Determining Ideal Moisture Content
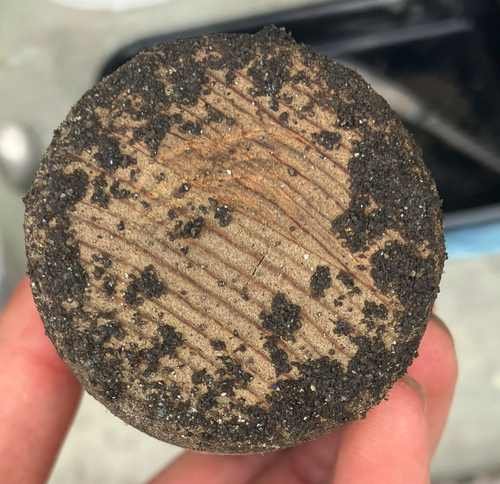
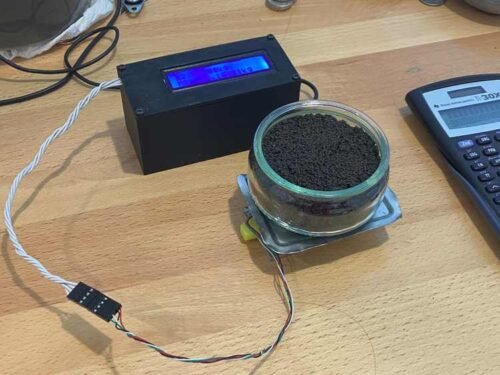
Moisture content affects a sand’s strength, plasticity, and permeability; the ideal moisture content of a sand varies a little depending on the type of castings being produced. However, according to Foundry Sand Control, a good balance of strength and plasticity is achieved at the moisture content when unrammed bulk density is at a minimum. This was the moisture content I used when testing the sands’ strength and shatter index.
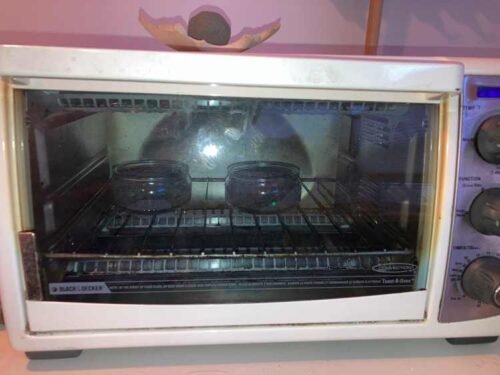
To determine the point of minimum bulk density, I performed compaction tests on the sands, adding 5 mL of water between each test. This process was repeated until a significant plateau or rise in unrammed density was observed. To verify the final moisture content, 100 g of sand was removed, dried in a toaster oven at 120 °C, and weighed again.
Finally, by adding water and/or drying in the microwave, the sand was brought to the moisture content of minimum unrammed density.
Compaction Test Results
Unrammed Density: Activated clay results in a lower unrammed density in the greensand.
Rammed Density: The rammed density of all the sands is pretty much the same. The dirt-bonded sand has a slightly higher density, probably because it has a wider range of particle sizes.

Mechanical Tests
To get an idea of the strength and plasticity of each sand, I performed 4 tensile tests and 2 shatter tests on each sand.
Results
Removing calcium carbonate has no significant effect on the sands’ properties, when standard error is taken into account. However, soda activation increases both the clay’s tensile strength and shatter index significantly.

Note: The standard errors displayed in the graph
are based on the standard deviations measured in a previous experiment, where I ran many trials of the tensile test and shatter test on dirt-bonded sand.
If I’d used just the 2 or 4 data points for each sand in the current project to estimate the standard deviations, then the estimates would not be very precise, resulting in more uncertainty as to the true mean.
“The SD [standard deviation] of the measurements is only an estimate for the SD of the error box. And [with 2 or 4 trials], the number of measurements is so small that their SD is not likely to be a good estimate for the SD of the error box. To take this extra uncertainty into account, the [confidence] interval has to be made longer”
Statistics by Freedman, Pisani, and Purves
However, by assuming the standard deviation is similar no matter what sand is used, I can use my past data, which has more data points and thus gives a better estimate of the test’s standard deviation:
- For the tensile test: \(\text{SE} = \frac{0.454\text{ kPa}}{\sqrt{2}} = 0.227\text{ kPa} \).
- For the shatter test: \(\text{SE} = \frac{4.08}{\sqrt{2}} = 2.89\)
“The chance error in each measurement is like a draw from the error box. This box belongs to the measurement procedure, not the [greensand]. So its SD [standard deviation] should be estimated by the SD of the past data.”
Statistics by Freedman, Pisani, and Purves
In fact, if we calculate the total standard deviation, across all the sands, using the formula
\( \sqrt{\frac{\sum{(x_i-\bar{x_i})^2}}{n}} \) (taking into account the different means associated with each data point)
it works out to 0.474 kPa for the tensile test data, and 2.20 for the shatter test data, which is reasonably close to the values in my past data.