
Introduction
I have some dirt,
I have some sand.
Uh! Green sand.
I poured zinc,
into the green sand,
Uh! Sand casting.
(The PPAP song went viral when I was in elementary school and the funny lyrics made an impression on me. So here we are.)
My previous attempt at casting focused on casting a detailed model with no draft, necessitating the time-consuming investment casting process. However, for simpler and properly drafted models, more rapid castings can be obtained with sand casting, though with a poorer surface quality.
Materials and Tools
One of the great benefits of sand casting is that it’s very accessible. The equipment I’ve used here is either commonly available or homemade.
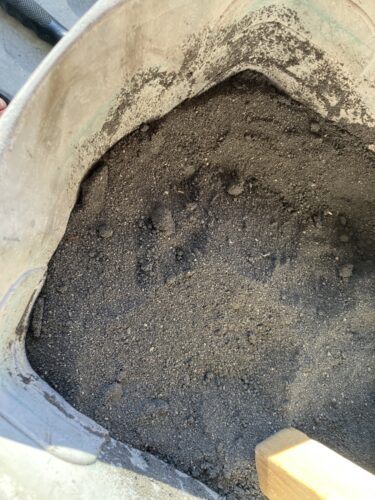
Green Sand
Green sand is the sand used to make the mold. Its main characteristics are that it’s easily formed into many shapes by hand, has decent wet strength, can withstand the high temperatures of metal casting, is porous enough to allow gas to escape, and is as fine as possible to give a good surface finish.
As alluded to in the introduction, my green sand is play sand mixed with ground-up dirt. I did not sift the sand nor refine the dirt, though I may do this in the future to improve surface quality. The green sand was moistened by adding just enough water for it to comfortably hold its shape when squeezed in my fist and break cleanly without crumbling.
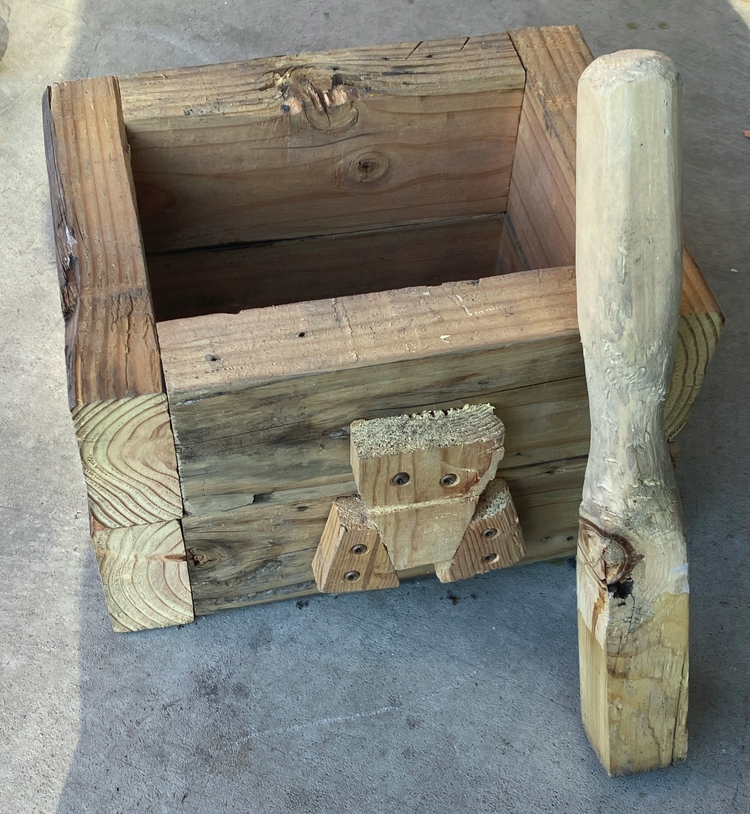
Flasks
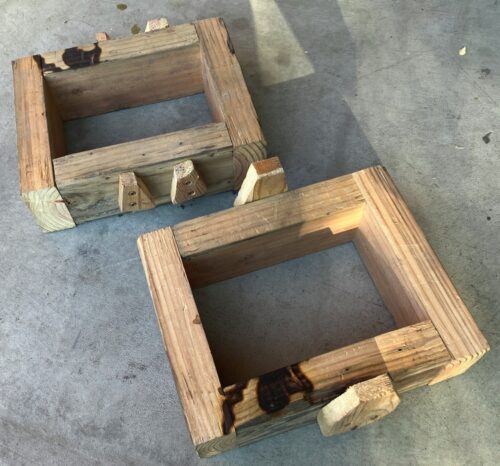
To sand cast, you need a frame (i.e. a flask) to contain the molding sand. It comes apart in two parts (the cope on top, and the drag on the bottom) that sit flush against one another, with some alignment mechanism that allows both halves to be separated and mated while preserving their original alignment.
I constructed my flask using some scrap pine 2-by-4s. The wood was planed flat, then cut on a miter saw, making sure that opposite pieces (on the frame) were identical lengths to keep the frame square, though the specific length was estimated. I then clamped and screwed the pieces together, planing the face of each frame perfectly flat so that the cope and drag would sit on top of each other without any “rocking”.
The alignment mechanism consists of two tapered blocks of wood projecting down from the cope held in place by corresponding blocks in the drag.
It is typically suggested that you have some way of holding the rammed sand in the flasks, like a channel cut in the wood or a textured inside surface. I didn’t have any of this, but it seemed to stay in just fine.
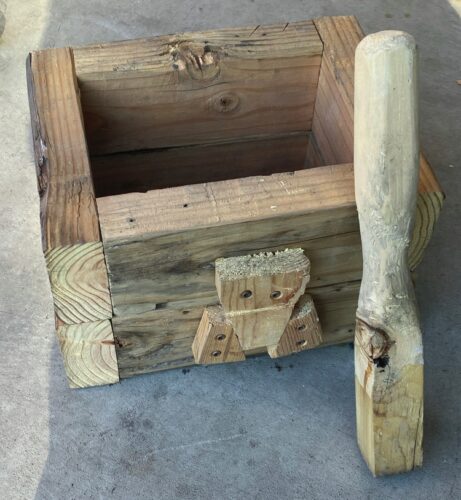
Sand Rammer
Compressing the sand enough that it will hold its shape requires a rammer. I made mine out of a 2-by-2 piece of pine by cutting the ramming end square and shaping the other end into a grip using a plane and a machete. The ramming end was also covered with some spray-on varnish to keep sand from sticking to it so much.
To get into the tight spaces better, I used a ~10 mm diameter, ~200 mm long bolt as a smaller rammer.
Metal and Melting
My metal of choice for casting was zinc because it can be easily and cheaply obtained from scrap metal parts, has minimal shrinkage and low viscosity, and has a low melting point.
Specifically, I used zinc parts from a useless lock, cutting them into small pieces using bolt cutters. I initially tried to melt them on a 1000 W hot plate but switched over to a more powerful 2500 W backpacking stove. Also, the highly unsafe tea can crucible I used in my first casting attempt was upgraded to a stainless steel pot.
Attempt 1
This was meant to be a super basic, no-frills first try. The pattern was a miniature 3D-printed ingot. It was rammed into the drag, the cope was placed on top, a paintbrush handle was put as a sprue, and more sand was rammed in. Then vents were poked down from the cope using a wire, the two halves of the mold were separated, the pattern removed, and runners and a sprue well carved out of the sand. The whole process was accomplished without any parting compound, but despite this, everything came apart fine.
I sprayed water on the top of the mold while the zinc was melting to keep it moist, thinking that overly dry sand would crumble off and end up in the zinc. In hindsight, this was a bad idea because excess water might have caused the cavity in my casting, either directly by expanding into steam and displacing the metal, or indirectly by cooling the metal too much and solidifying it before it could fill the mold.
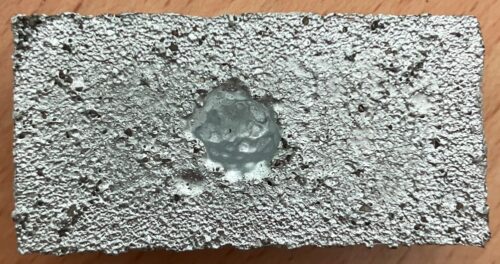
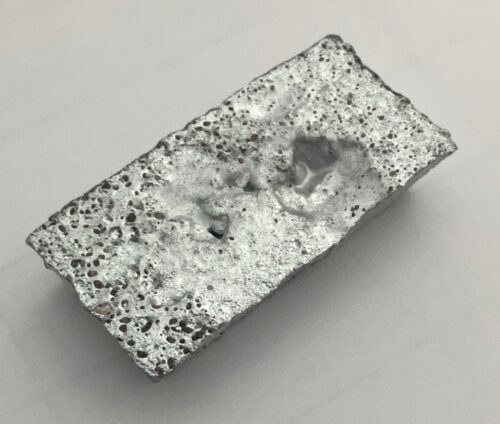
Anyhow, the casting turned out fine, though the surface finish was very rough and there was a cavity about 7 mm in diameter and 5 mm in depth with a smooth but irregular surface on the top middle of the mold. This suggests it was a shrinkage cavity since it was near the last place of the mold to cool.
Attempt 2
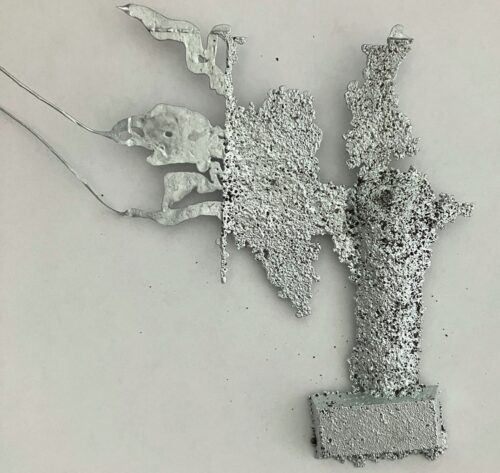
This time I was kind of in a rush, so things were done similarly to attempt 1. The most important changes I made were that the sand was drier and the metal hotter. Unfortunately, since the molding board (a piece of plywood) against which I rammed the sand was curved, the mating surfaces on the flask were uneven, resulting in a poor seal that caused a lot of metal to leak out. Fortunately, since zinc is a low-temperature metal, my pinewood flasks were not much damaged. However, there was a severe loss in head pressure, so while surface quality was improved, the mold did not fill completely, with some voids at the top (although this may have also been caused by shrinkage). Also, the uneven mating of cope and drag caused lots of “flashing“. Finally, I didn’t use vents on this attempt, but there was no noticeable effect, probably because my sand is so coarse and porous.

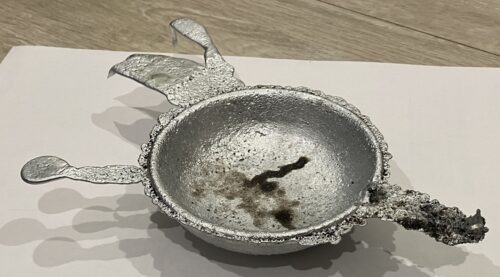
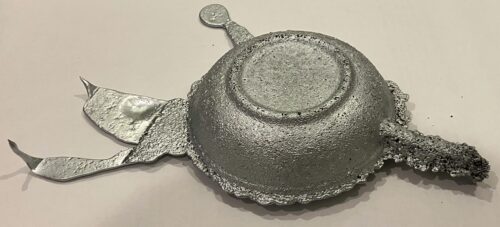
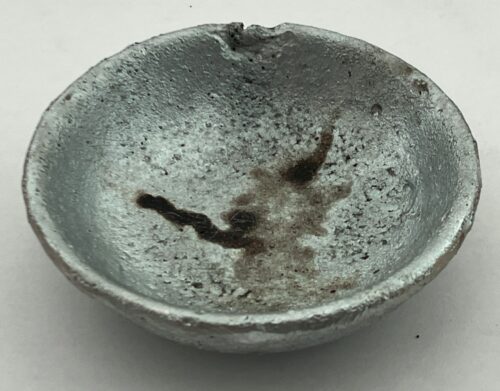
UPDATE 2024-09-28: Attempt 3
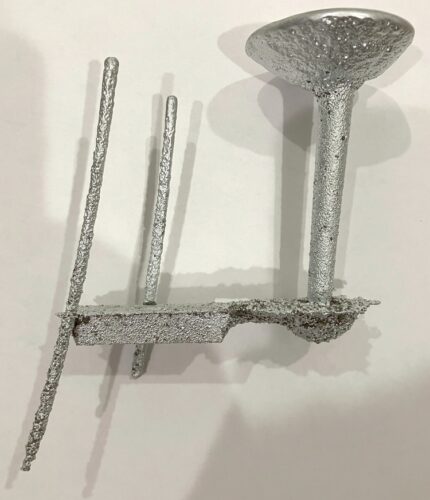
I finally found the time to make another attempt, this time casting a dipping dish. Having previously done some experiments ramming up molds without casting anything, I realized that the sand in the first two attempts was much to wet; this was the cause of it sticking to the sand rammer, not its porosity. This may also have been the cause of the defect in the previous two castings, with the water expanding into steam and cooling the metal too fast. Also, I tried using cornstarch as a parting compound (it performed just as well as diatomaceous earth in my tests and won’t cut up my lungs), though I’m not sure this was necessary. Finally, I rammed the mold itself directly on the garage floor, hoping it would make flatter molding surfaces.
This time, I used a 1500 W coil stove to melt the zinc. It worked fine, despite being a bit slower than the backpacking stove.
Once again, the metal leaked out of the mold. I think this is because the sand was a little bit too dry, or I didn’t ram it enough, causing it crumble off at the interface of the cope and drag. However, just as before, the casting itself turned out fine, with its surface finish improved somewhat by the low head pressure (and in this case, probably also by the very clean de-molding of the pattern due to its very nice shape). Compared to attempt 2, there was a lot less flash.
One response to “First (Real) Attempts at Sand Casting”
[…] UPDATE: 2024-09-28 It successfully melted zinc. Read about it here. […]