
Summary
- A very good material for making ingot molds is a 2:1 mixture of sand and clay
- This preparation is inexpensive, heat-resistant, does not require firing, and can be recycled
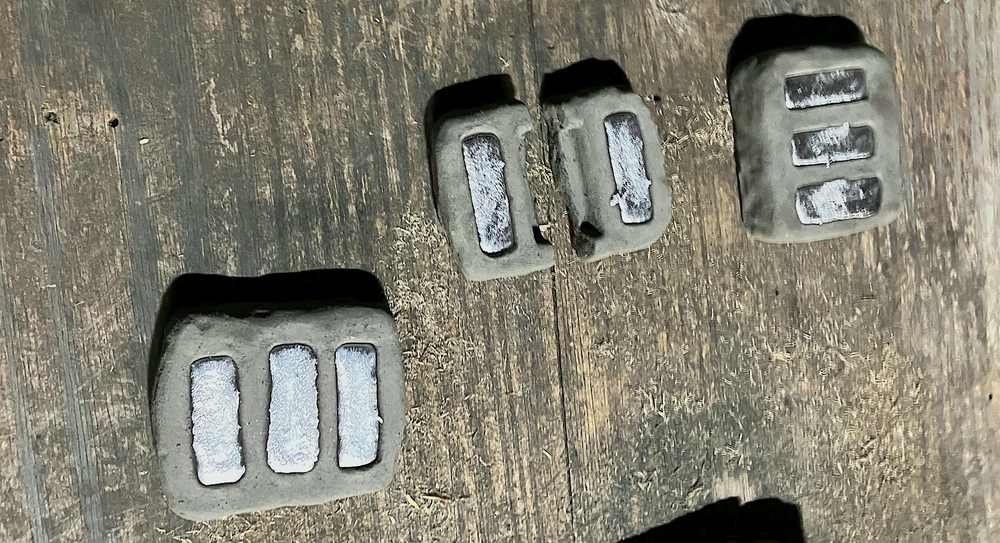
- Molds are formed by pressing 3D-printed patterns into a block of sand-clay
Material
In a blog post from 2 years ago, I wrote that “I simply mixed dirt with enough sand to prevent cracking and formed it into very simple molds that by virtue of their porosity were really temperature-resistant.”
Since then I’ve done some more experimentation, and found that for rough molds, like those for ingots, the ideal ratio of sand:clay (by mass or volume) is about 2:1.
Why this material is great:
- It’s readily available and cheap
- Since it has low drying shrinkage, it can be dried quickly without cracking, including in direct sunlight, and even in an oven.
- Compositions containing less sand must be dried slowly and consistently to avoid shrinkage cracks.
- It conducts steam easily, making the molds safer to use. Molds do not have to be fired before being used.
- If not sufficiently porous, damp clay molds can spall or explode when hot metal is poured into them, due to water being rapidly vaporized and trapped within the clay.
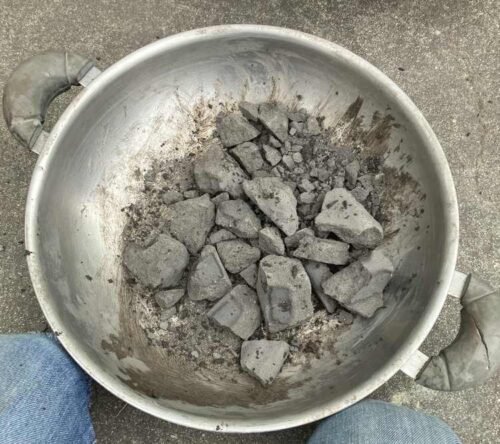
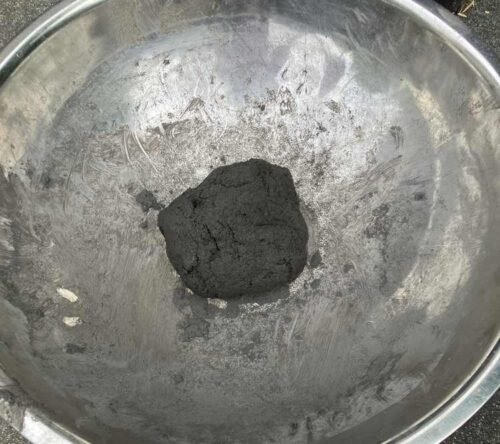
- The high sand content makes it easy to recycle, since it can be readily pulverized by pounding it with a stick, and quickly returned to the plastic state by adding water and kneading it a little.
- Compositions containing less sand require more effort to break down, and have to be either pulverized in some sort of grinder, or soaked in water for a long time.
Why it’s not great:
- Adding so much sand weakens the dried mold, in comparison to molds made with less sand. This means that the molds have to handled more gently.
- The sand also decreases the mixture’s plasticity while wet, and in consequence, a higher water:clay ratio must be used to allow it to be formed by hand. This decreases wet strength, and makes parts more prone to sagging while being formed or handled.
- A potential solution is to ram the mixture into a closed die, rather than forming it by hand. This allows much more pressure to be applied to the clay, so less plasticity is needed and a lower water content can be used than for hand-forming.
Preparation
This material is prepared by combining silica sand (which I got from the hardware store) with unrefined clay soil.
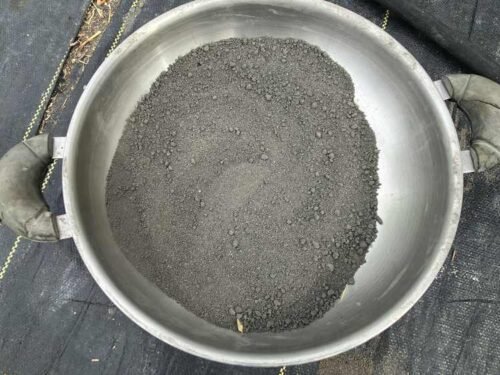
- The most convenient way of preparing the sand-clay mixture is to grind the soil into a fine powder, mix it with the sand while dry, and then add water.
- I used a food-grinder and a blender to grind the the soil
- A slower method, which does not require pulverizing the soil, is to mix the sand into a soil-water slurry. To get the slurry into a workable consistency, it is dried in the sun, while being occasionally turned with a shovel to ensure even drying.
- Or, you can soak the soil in just enough water to make it plastic and workable, and then knead the sand in. This is quicker than waiting for a slurry to dry, but very labor-intensive.
The Mold
To make the mold:
- Form the clay into a rectangular block
- Press in the 3D-printed ingot patterns
- The clay will deform and even crack somewhat during this step; this is normal
- Push any cracks back together (including on the bottom of the mold), and work the clay to get it back into the right shape
- Pull out the ingot patterns
- Smooth the mold to remove any irregularities or undercuts, by dipping your finger in water and rubbing it over the mold surface.
- Let the mold dry
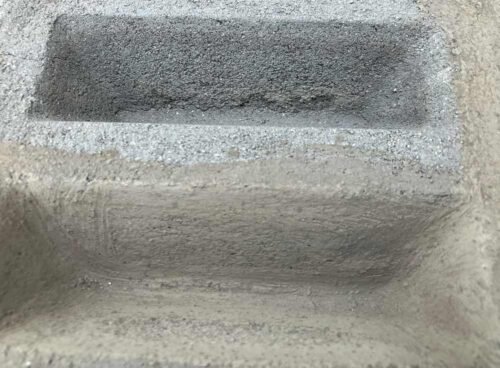
- Paint the mold surface with a fine coating. I found that about a 2:1 mixture of dehydrated clay powder with normal clay powder worked well.
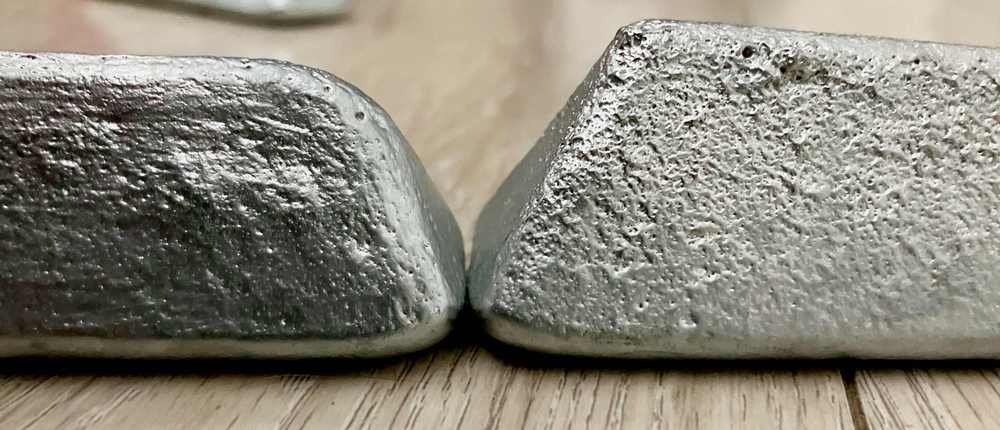
- With such a high sand content, sand particles inevitably stick out of the surface of the mold, clinging to ingots and making them difficult to remove. The coating covers up these sand particles, allowing ingots to fall out cleanly.
- Other people on the internet suggest using soot (e.g. from an acetylene torch) or oil as a release agent.
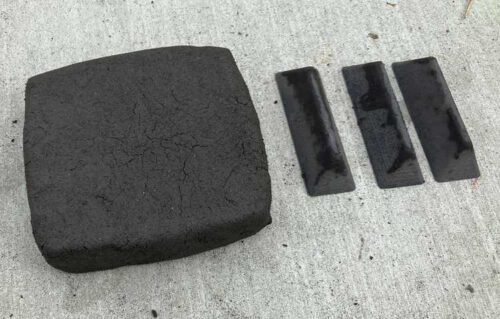
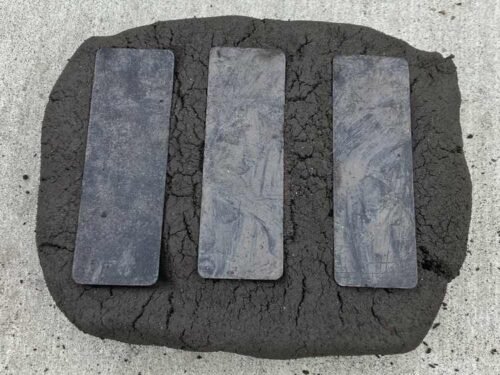
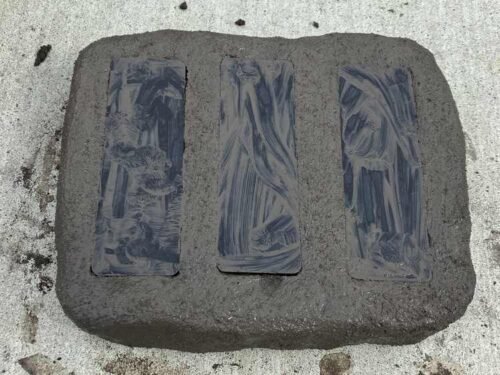
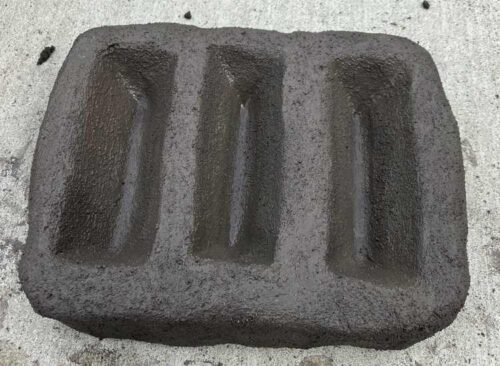
The ingots should:
- Have a high draft angle so they fall out easily. Unlike a metal mold, a clay mold cannot be banged on the ground to release ingots. I found that ingots would not fall out with a 10° draft, angle, but would with a 30° draft angle.
- Have large fillets (≥10 mm radius) everywhere, so that your fingers can smooth all parts of the mold. (A round finger can’t fit into a sharp corner)
Note
The content of this blog post comes from trial-and-error, and is not confirmed by rigorous experimentation.